
Creating a DIY Faraday cage is a project that combines history, science, and practicality into one handy safeguard for your electronic devices. Named after the scientist Michael Faraday, who invented them in 1836, Faraday cages are enclosures used to block electromagnetic fields. These enclosures are particularly relevant today, as they can protect electronic equipment from the potentially damaging effects of electromagnetic pulses (EMPs).
Building your own Faraday cage can be as simple or sophisticated as you want it to be. The principle behind a Faraday cage is to use conductive materials to redistribute electromagnetic charges and radiation around an enclosed space, thus shielding what’s inside. Whether you’re worried about a lightning strike, an EMP, or you’re just taking extra precautions against electronic surveillance, constructing a Faraday cage is a straightforward process that you can do with common household items.
Understanding Faraday Cages

Before you embark on creating your own DIY Faraday cage, it’s essential to grasp the underlying concepts and the physics that make it work. You’ll discover how Faraday cages are an ingenious application of basic principles to protect against electromagnetic disturbances.
The History and Principle of Faraday Cages
Michael Faraday, a 19th-century scientist, gave us the Faraday cage, demonstrating that an enclosure made of conductive materials can shield its contents from external electric fields. Essentially, when electromagnetic radiation, including harmful electromagnetic pulses (EMPs), hits the surface of a Faraday cage, the conductive material distributes the fields around the outside of the enclosure without allowing it to pass through.
Physical Properties and Effectiveness
The effectiveness of a Faraday cage lies in its material and construction:
- Conductive Layer: Your Faraday cage should be made of a conductive material such as metal, with options ranging from aluminum foil to metal screen meshes or solid sheets.
- Insulation: Inside the cage, an insulating layer is crucial to prevent direct contact of the contents with the conductive outer layer.
- Continuity: Ensure there are no gaps in the conductive layer, as discontinuities diminish the shielding effect.
Table of Factors Affecting Shielding Effectiveness:
| Factor | Description | Importance |
|---|---|---|
| Material | The type and thickness of the conductive material. | Uses metals for optimal performance. |
| Design | Continuity is imperative; joints and seals must be secure. | Prevents leaks in the shielding. |
| Insulation | Non-conductive layer that prevents contact. | Protects devices inside the Faraday shield. |
Remember, the strength and frequency of the electromagnetic fields or pulses you’re shielding against will influence the design of your Faraday cage. In essence, a well-constructed Faraday cage acts as a Faraday shield, creating a sanctuary from electromagnetic interference.
Materials and Tools Needed

Creating a DIY Faraday cage involves selecting the right conductive materials to block electromagnetic fields and insulating components to protect your devices. Here, you’ll find exactly what you need and the tools to put it all together.
Choosing the Right Conductive Materials
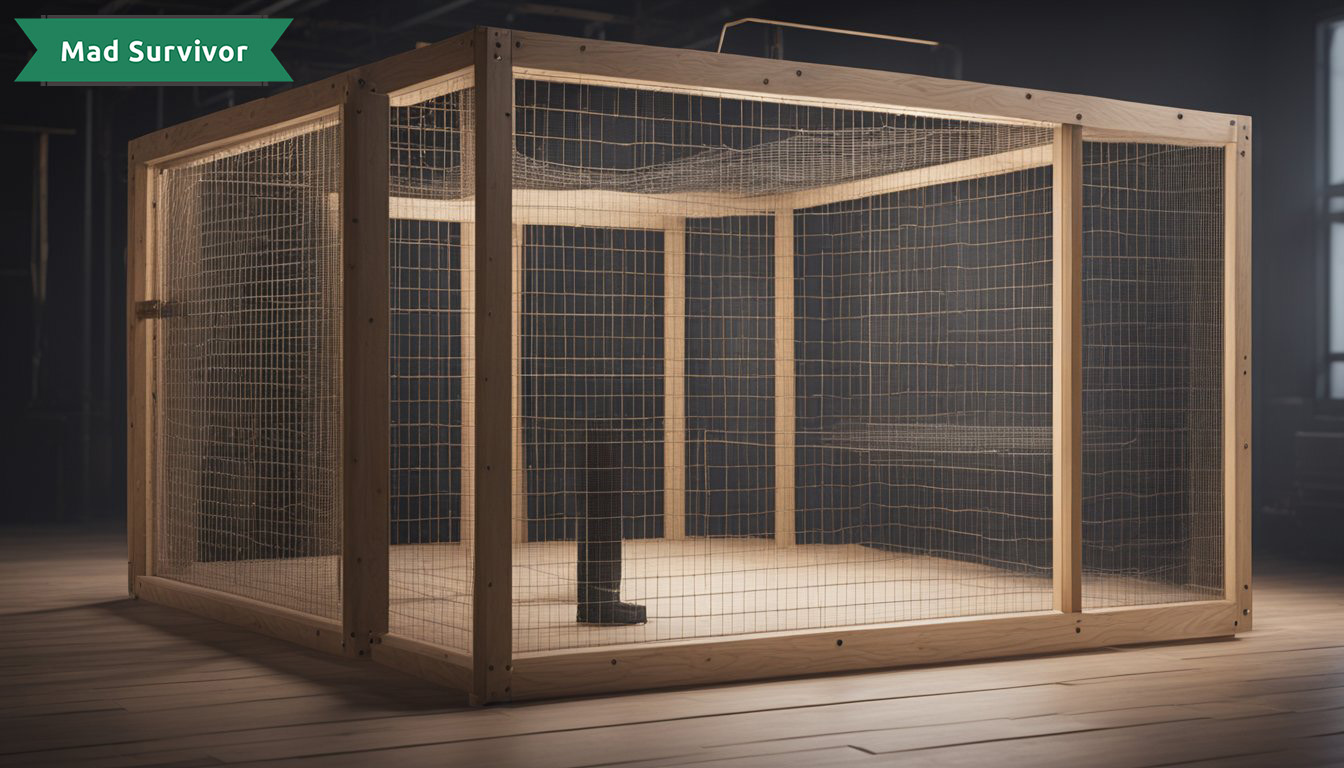
When selecting materials for your Faraday cage, aluminum and copper are top choices due to their high conductivity. For a simple at-home project, heavy-duty aluminum foil is accessible and effective. If you’re aiming for a more robust build, metal sheet or metal mesh materials can be used. Chicken wire can work as well but may offer less protection due to the size of the gaps.
- Aluminum foil: Common, affordable, and effective for lining.
- Copper mesh or sheets: Excellent conductivity, though more expensive.
- Chicken wire: Larger gaps but suitable for bigger projects.
Finding Non-Conductive Components for Insulation
The internal structure of your cage should be insulated to prevent the conductive material from coming into direct contact with your electronics. Materials such as cardboard or bubble wrap provide this layer of safety comfortably. Using non-conductive tape, like duct tape, helps secure the insulation without affecting the conductive properties of your cage.
- Cardboard: To create the form and provide a non-conductive layer.
- Bubble wrap: For additional cushioning and insulation.
- Conductive tape: To ensure electrical continuity where pieces of conductive material overlap.
Essential Tools for Assembly
To assemble your Faraday cage, you’ll need a few basic tools that will help secure and shape your materials. Duct tape is handy for both securing non-conductive layers and for patching any gaps in your conductive material. A pair of scissors or a utility knife is necessary to cut the sheets of foil, mesh, or cardboard. Lastly, conductive tape is crucial for reinforcing connections between conductive sheets to ensure there are no leaks in your Faraday cage.
- Scissors/Utility knife: For cutting materials to size.
- Duct tape: For securing and patching up materials.
- Conductive tape: For joining conductive materials with a secure electrical connection.
DIY Faraday Cage Construction
Building your own Faraday cage is a straightforward project that can safeguard your electronic devices from EMPs, such as those from solar flares or solar storms. This section will guide you through creating a basic Faraday cage, customizing it for your needs, and ensuring it is sealed and grounded correctly.
Basic Steps to Build Your Own Faraday Cage
To get started, you’ll need a cardboard box large enough to hold the items you want to protect. The box will act as the non-conductive layer in your cage. For the Faraday shield, you’ll use a conductive material like aluminum foil. Carefully line the entire inside of the box with the foil, ensuring there are no gaps.
- Step 1: Line your cardboard box with a non-conductive layer, like plastic wrap, to avoid direct contact between the foil and your items.
- Step 2: Completely cover the interior with aluminum foil, pressing it smoothly against all surfaces.
- Step 3: Place items inside the box and seal the opening with additional foil, ensuring that all seams are overlapped and secured.
Customizing for Different Sizes and Purposes
Depending on the items you’re looking to protect, your Faraday cage can range from small to large. A small box is perfect for phones and radios, while a larger container such as a metal trashcan can protect bigger items. If you’re customizing for larger items, follow these same steps but ensure you have enough material to cover and seal properly.
Items to consider:
- Phones and radios for small boxes
- Computers and larger electronics for bigger containers
Ensuring a Proper Seal and Grounding
For your Faraday cage to be effective, it must be completely sealed and ideally grounded. After sealing the container with conductive material, check for any holes or gaps that might allow electromagnetic signals to penetrate.
- Sealing: Use conductive tape to seal all seams, making sure the seal is tight and free from gaps.
- Grounding: Though not always required for smaller cages, grounding can enhance protection. Connect a wire from the conductive surface of your cage to a grounding rod or existing grounding system in your home.
Remember, a Faraday cage is only as good as its construction. Take your time to seal every seam and consider grounding your cage if you’re preparing for intense electromagnetic disturbances.
Testing and Validation

After building your DIY Faraday cage, the critical stage is testing and validation. You need to ensure that the cage effectively shields against electromagnetic interference.
Ensuring Effectiveness Against EMPs
To confirm your Faraday cage can withstand an electromagnetic pulse (EMP), you should simulate the conditions of an EMP as closely as possible. EMP testing typically involves a specialized setup, but for DIY purposes, you can use a high-frequency radio wave transmitter to see if the cage blocks the signal. Remember, the purpose of this test is to mimic the EMP; therefore accuracy in simulation is crucial.
Practical Tests with Electronic Devices
For a more hands-on test:
- Place a cell phone inside the cage.
- Attempt to call the phone from another device. If the cage is effective, the call will not go through.
- To test for WiFi signal blocking, see if the phone can connect to WiFi while it’s inside the cage.
- Check if a flashlight inside the cage is impacted by outside electromagnetic sources—this would indicate power interference.
- Use a portable AM/FM radio to detect radio wave blockage by tuning into a station before placing it inside the cage. If the signal is lost, this suggests proper shielding.
Remember, the absence of signal or interference within your cage indicates a higher likelihood that your electronics would be protected in the event of an EMP.
Practical Applications and Uses

When you think about a DIY Faraday cage, imagine a protective shield for your electronic devices that guards against external electromagnetic fields. This isn’t just a theoretical concept; it’s a practical and often crucial measure in shielding your gadgets from harmful interferences.
Protection for Everyday Devices
Your cell phones, flashlights, and even ham radios might be vulnerable to electromagnetic disturbances, such as those caused by a solar flare. By encasing them in a Faraday cage, you can protect the sensitive electronics within these devices from damage, ensuring they remain functional, especially in cases of emergency preparedness.
- Cell phones: To safeguard your personal data and the phone’s functionality.
- Flashlights & other handheld electronics: Essential in your emergency kit; a Faraday cage keeps them secure and useable post-disruption.
- Ham radios: Stay connected even when other forms of communication might fail, important for real-time information sharing during emergencies.
Specialized Uses in Various Scenarios
Cars contain complex electronic systems that are at risk from electromagnetic interference. A Faraday cage can aid in protecting the automotive electronics, especially in places with high electronic noise or potential for electromagnetic pulses.
- Microwave ovens: They are essentially Faraday cages themselves, designed to keep the microwaves from escaping.
- WiFi routers: Shielding them with a Faraday cage-like material can prevent unwanted access to your network, though it may also affect the signal strength.
Solar panels also benefit from the protection of Faraday cages, not from everyday interference, but as a precaution against rare yet potent solar flares that could disrupt electrical grids and fry circuits. By shielding the controllers and inverters you ensure the continuity of your power supply.
Remember, while rubber is not conductive, it’s not used in Faraday cages, which require conductive materials. Also, note that a Faraday cage can protect against many forms of electromagnetic interference, but it’s not a catch-all solution and should be one part of a broader approach to emergency preparedness and protecting your technology.
Advanced Tips and Precautions

When building your own Faraday cage, understanding the intricate characteristics of your materials and the specific needs of your electronics is crucial. Follow these tips and precautions to enhance the effectiveness of your Faraday cage and ensure you take the right safety measures.
Enhancing the Shielding Effect
To improve the shielding ability of your Faraday cage:
- Layer Up: Use multiple layers of aluminum foil or other conductive materials to increase the shielding. Each layer can trap different frequencies of radio waves, making it harder for them to penetrate and reach your electronic components.
- Ensure a Tight Seal: For items like a faraday bag or cages made from ammo cans or metal garbage cans, check for any gaps or holes. It’s essential to have a continuous conductive surface without interruptions.
Materials to Consider:
- Stainless Steel: A robust material that can withstand much pressure and provide effective shielding.
- Styrofoam: Use as a non-conductive buffer inside the cage. It maintains a gap between the metal and the electronics, which is critical for attenuation of the waves.
Devices to Protect:
- Protect sensitive devices such as laptops, walkie-talkies, headlamps, and chargers by placing them in a well-sealed Faraday cage.
- If you’re using a generator, ensure it’s appropriately shielded to prevent potential damage from electromagnetic pulses.
Safety Measures and Risk Management
To ensure safety while using a Faraday cage:
- Understand the Risks: Be aware that in the event of a nuclear detonation, while your Faraday cage may protect your electronic devices, there are greater safety concerns to address.
- Avoid Fire Hazards: When using materials like aluminum foil, ensure there’s no risk of electrical conduction that could lead to a fire. Keep the cage away from flammable materials and check for sharp edges.
Precautions for Daily Tech:
- For daily tech that includes keyless entry systems, consider using a Faraday cage to preserve privacy and protect against hacking.
- When storing technology that has batteries, such as a headlamp, remove the batteries to prevent leakage over time.
Remember that a Faraday cage isn’t a set-and-forget solution. Regularly test your cage with a radio or other means to ensure it remains functional. Stay observant of the condition of your shielding materials, and replace them if they show signs of wear or if new vulnerabilities are discovered.

Conclusion
Creating a DIY Faraday cage is both a practical and instructional project. After you’ve constructed your cage by lining a metal container with layers of insulating material and covering it with aluminum foil, it’s essential to test its effectiveness. A simple test is to place a radio inside the cage and check if it receives a signal.
Remember, the effectiveness depends on proper sealing and the size of the gaps in the enclosure. If they’re too large, they’ll let signals through. Ensure all seams and connections are taped using conductive material, such as aluminum tape.
By following these diligent steps, your devices will be better protected against EMPs and other electromagnetic interference. Always remember, practice makes perfect. If at first you don’t succeed, re-evaluate your design, and try again!
Leave a Reply