Starting a fire in the wild is an essential survival skill, whether you’re camping, hiking or in a situation where your life depends on warmth and the ability to cook food. It’s not just about having a flame; it’s about creating a sustainable fire that can last as long as you need it to. Understanding the fundamentals of fire-making is crucial: it begins with selecting the right materials, constructing an effective structure to support your fire, and knowing how to safely ignite and maintain it.
Building a fire requires patience and practice. Starting with the right materials – tinder, kindling, and fuelwood – is just the beginning. The structure of your fire will determine its efficiency and longevity, so knowing different methods to construct a fire lay is beneficial. Moreover, mastering various ignition techniques, from traditional matches to friction-based methods, can make the difference between success and failure in different environmental conditions.
Key Takeaways
- Mastering fire creation is essential for survival and comfort in the wilderness.
- Proper material selection and fire structure are key to a sustainable flame.
- Variety in ignition techniques allows for adaptability in diverse situations.
Fire Basics
Before you spark up a flame, you need to grasp the essentials of what makes a fire burn and how to choose the right spot for your campfire.
Understanding the Fire Triangle
The fire triangle is a simple model for understanding the necessary ingredients for most fires. It’s composed of three elements:
- Heat: the energy required to increase the temperature of the fuel to a point where sufficient gases are emitted and can ignite.
- Fuel: any combustible material — solid, liquid, or gas.
- Oxygen: the air around us has about 21% oxygen, which is more than enough to support a fire.
For your fire to be successful, all three of these elements must be present in the right proportions.
Selecting Your Fire Site
Choosing a proper site for your fire is about safety and efficiency. Here’s a quick checklist:
- Clear ground: Make sure your fire site is on bare soil or another non-flammable surface.
- Space: Keep it away from tents, trees, and bush. You’ll want a radius of at least 10 feet that’s free from flammable materials.
- Wind protection: A slight breeze is okay, but too much wind can be dangerous. Use natural barriers or build a windbreak if necessary.
- Accessibility to resources: Ensure you have access to plenty of fuel (wood), and keep water nearby in case the fire needs to be extinguished quickly.
Fire-Making Materials
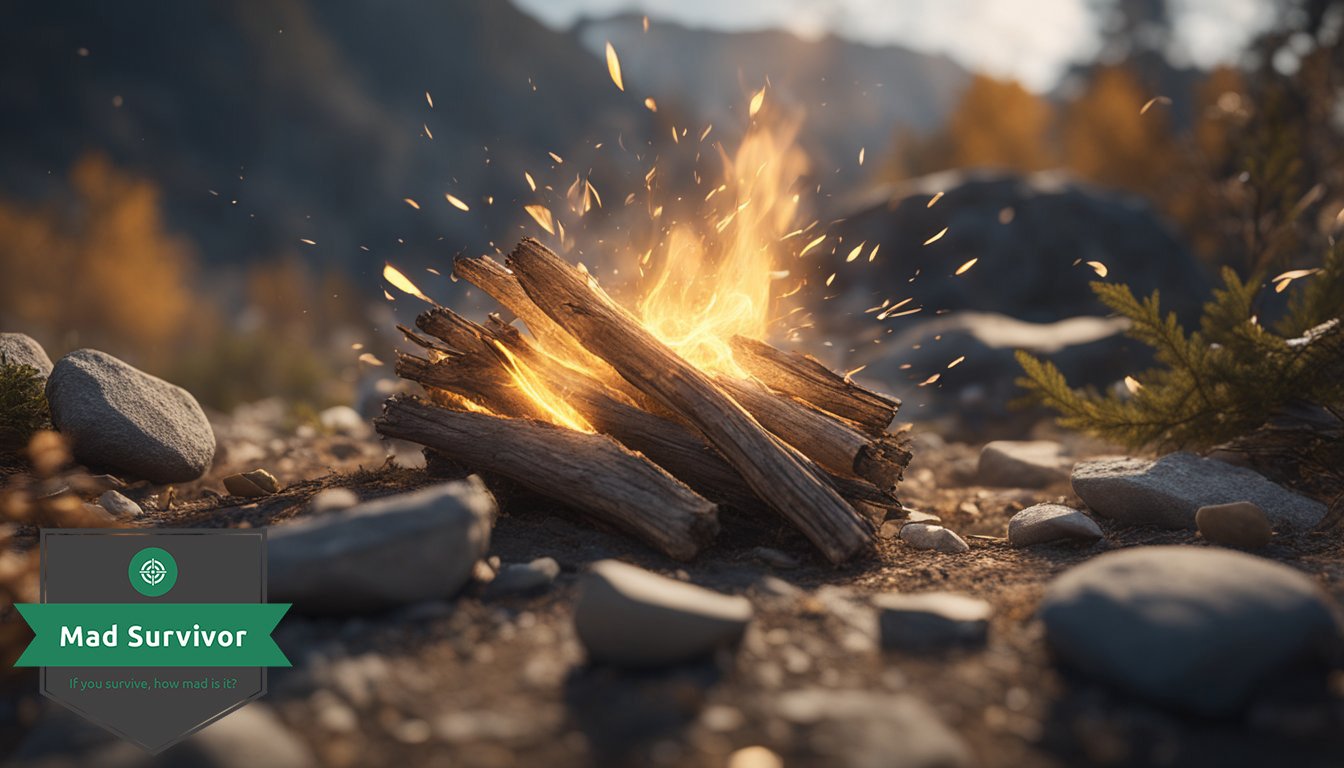
Before you spark up a flame, you’re going to need the right supplies. Think of starting a fire like building a house – start with good foundations (tinder), add the walls (kindling), and finish with the roof (fuel wood).
Identifying Tinder
Tinder is your spark’s best friend – it’s the stuff that’ll catch fire with minimal effort. Look for dry, fluffy materials that’ll ignite quickly:
- Dry leaves
- Grass
- Bark shavings
- Pine needles
Remember, if it’s damp or green, it’s a no-go.
Gathering Kindling
Once your tinder’s lit, kindling will keep the flames growing:
- Small sticks (no thicker than your thumb)
- Twigs
- Dry branches
Keep your kindling dry and snap it into manageable pieces to feed your fire gradually.
Choosing Fuel Wood
Now for the main event, fuel wood keeps your fire roaring:
- Large sticks
- Branches
- Logs
Prioritize finding dry wood, which burns longer and more steadily. If it sounds hollow when you knock it, that’s a good sign it’s dry.
Building a Fire Structure
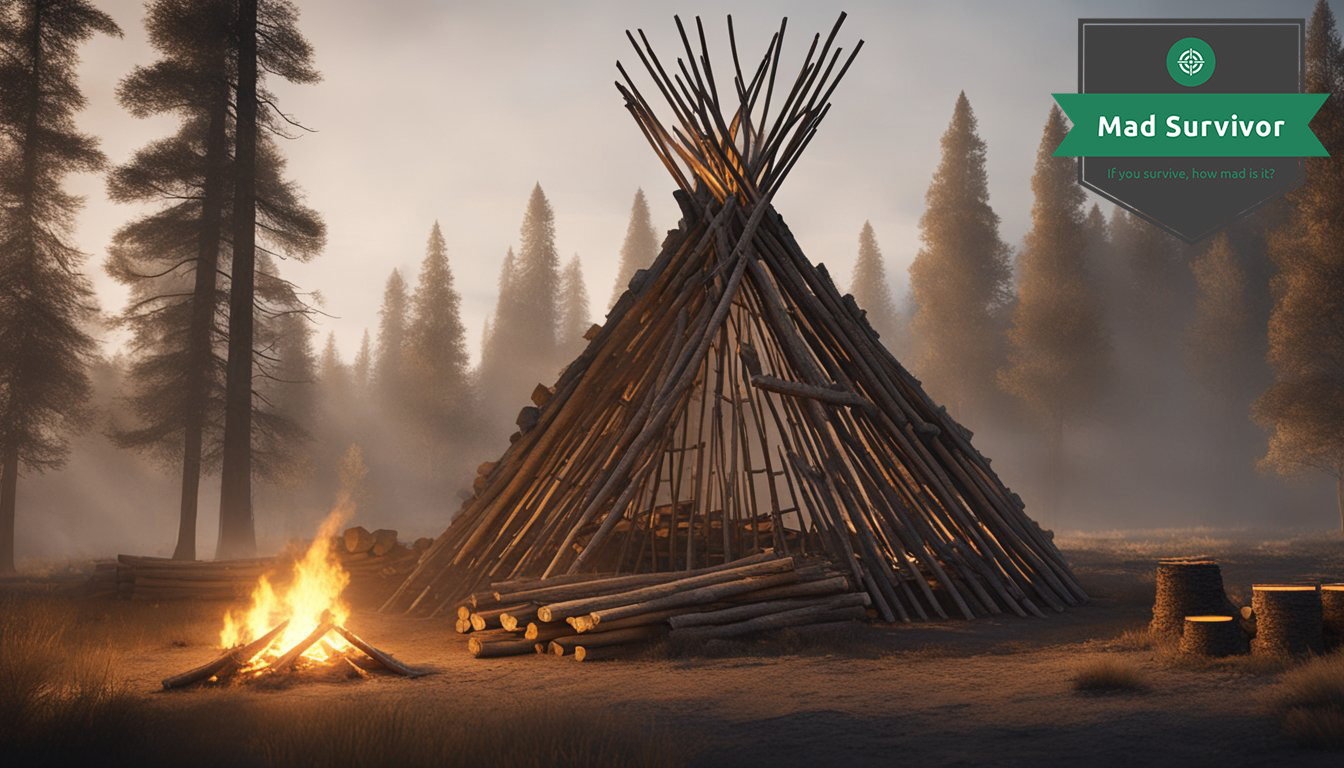
Building your fire structure correctly is crucial for a strong and lasting flame, so you’ll want to choose a method based on the conditions and materials at hand.
Tepee Fire Lay
Start with a bundle of tinder in the center. Then, place kindling sticks over the tinder, leaning them against each other to form a tepee shape. Make sure to leave an opening for oxygen to flow and to light the tinder.
Log Cabin Fire Lay
Lay two larger pieces of fuelwood parallel to each other with a gap in the middle for your tinder. Stack smaller sticks across them to create a log cabin or crisscross pattern. Place your tinder bundle in the center square, allowing for sufficient air circulation.
Lean-To Fire Lay
Drive a long piece of kindling into the ground at a 30-degree angle to act as a support. Lean smaller pieces of kindling against this piece, resembling a lean-to shelter. Put your tinder underneath the lean-to, ensuring the structure shields it from the wind.
Ignition Methods
To survive in the wild, you’ll need to master several ways to start a fire. Having multiple methods at your disposal ensures you’re prepared for any situation.
Using a Lighter or Matches
Lighters and matches are your simplest option. Keep them dry, and you’re all set to ignite your tinder quickly and efficiently.
- Lighters: Refillable butane lighters or disposable ones.
- Matches: Waterproof or strike-anywhere matches are particularly handy.
Friction-Based Techniques
Friction is your go-to when modern methods aren’t available. It requires more effort and skill, but it’s rewarding.
- Hand Drill: Spin a stick rapidly between your hands, pressing it into a fireboard.
- Bow Drill: Use a bow-like tool to spin the stick more quickly and with less effort.
Lens-Based Methods
Harness the sun’s power with a lens to focus a beam of light onto your tinder until it begins to smolder.
- Magnifying Glass: Use on sunny days by angling the glass to pinpoint the light.
- Glasses Lenses: Eyeglasses can work too in a pinch.
Firesteel and Flint
This technique sparks a flame with a strike of steel against flint, even in wet conditions.
- Firesteel: A rod that emits sparks when scraped with sharp edges.
- Flint: Rock that can be struck against steel to create a spark.
These methods are your toolkit for warmth, safety, and comfort in the wilderness. Each has its place, whether you’re a seasoned camper or in a survival pinch.
Fire Safety
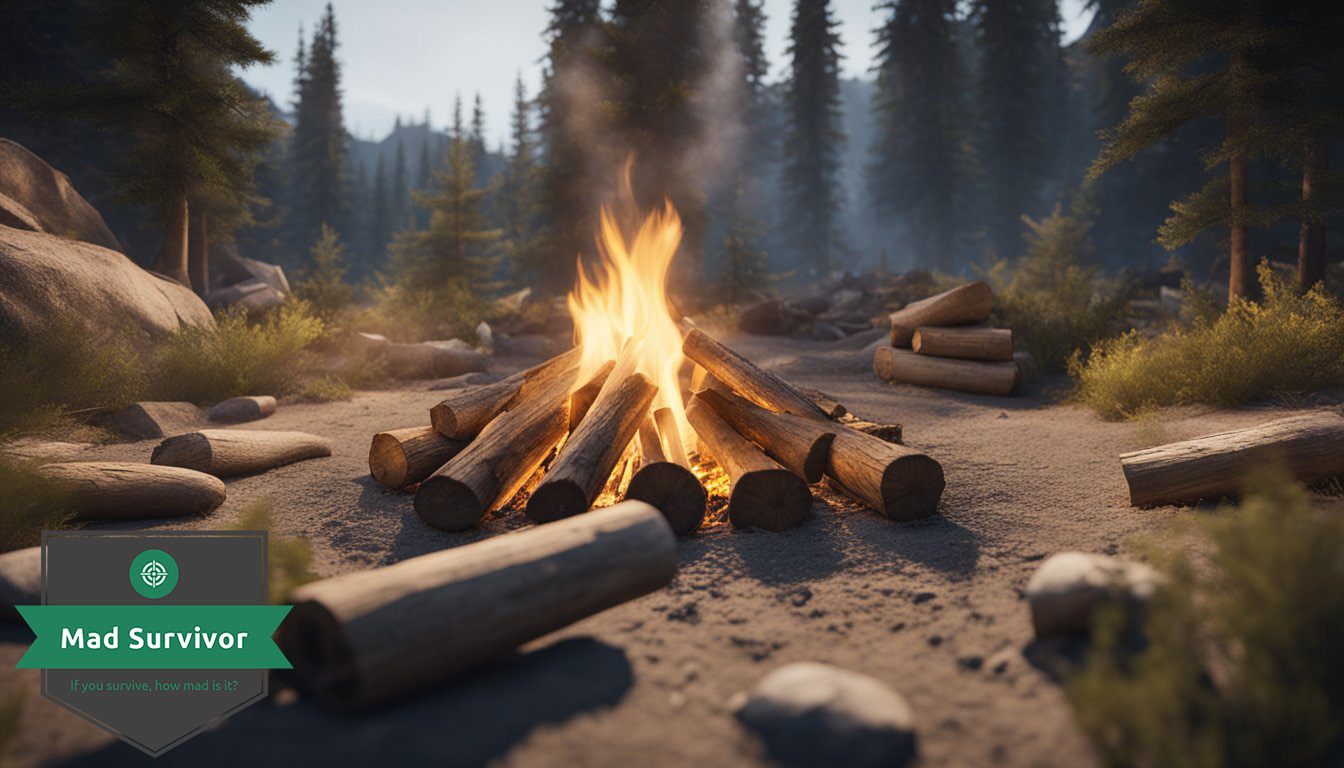
When you’re out enjoying the wilderness, ensuring fire safety is essential to both your well-being and the environment. Let’s go through how to effectively control, extinguish, and minimize the impact of your fire.
Controlling the Blaze
Before you even spark up, pick a spot for your fire that’s clear of vegetation and away from tents or anything flammable. It’s your show, so keep it small and manageable – a roaring bonfire might look impressive, but it’s tougher to keep in check. Surround your fire pit with rocks to create a barrier, and most importantly, never leave your fire unattended.
Extinguishing the Fire
Keep a bucket of water or sand handy right from the start; when it’s time to douse the flames, do so thoroughly. Soak all embers, not just the red ones. Stir the ashes to make sure everything cools down and there are no hidden embers waiting to reignite.
Leave No Trace Ethics
Your goal is to leave the wilderness just as you found it. Make sure your fire is completely out and cold to the touch before leaving. Scatter the cool ashes so that the area is as natural-looking as possible, returning rocks and anything you may have moved back to where they belong. Your campfire should be like a secret – once you’re gone, there’s no evidence you were there.
Adverse Conditions Fire Starting
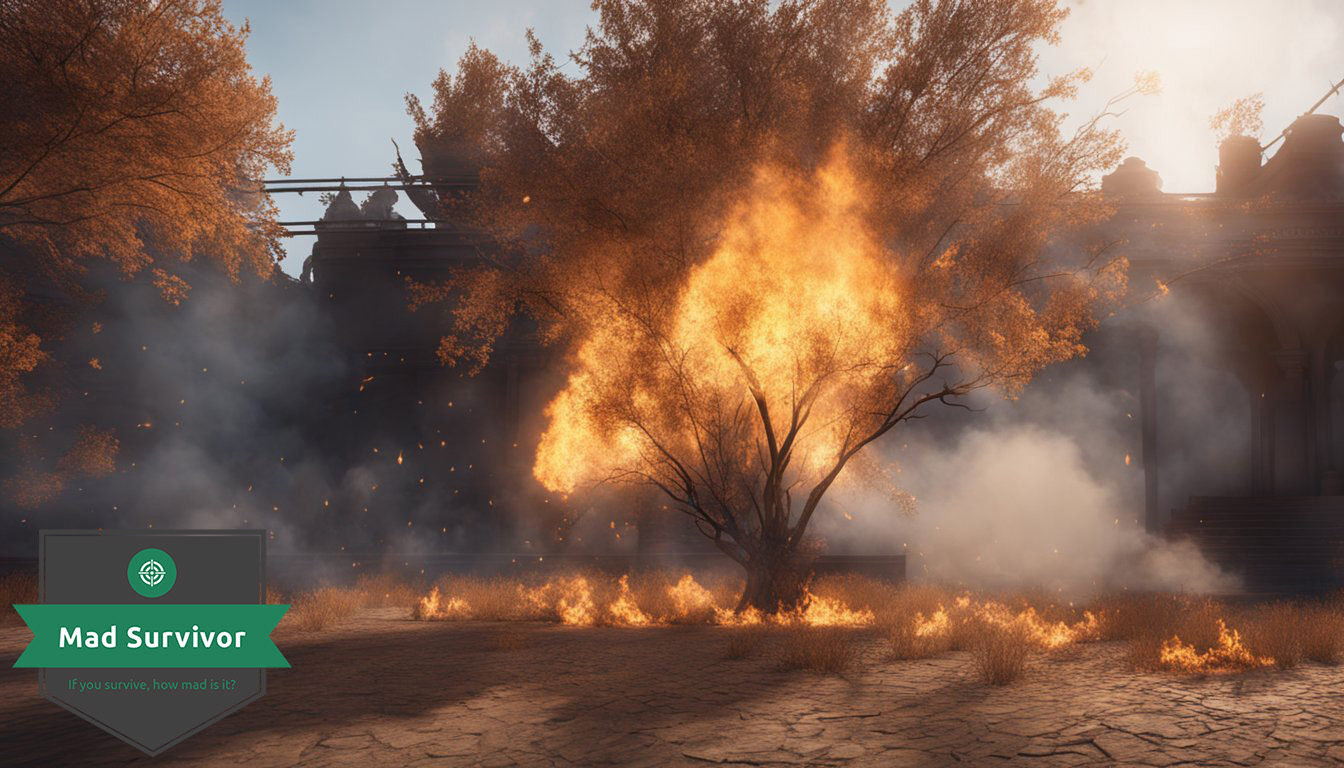
When you’re out in the wild, starting a fire can be tough, especially when weather conditions are against you. Here are some straightforward tips for lighting a fire in wet, windy, or cold environments.
In Wet Weather
Wet conditions challenge your fire-starting skills due to moisture-laden kindling and fuel. First off, locate some dry tinder under trees or inside logs. If it’s been raining, you’re going to want to use a waterproof fire starter, like stormproof matches or a ferro rod. Keep your kindling off the wet ground by laying it on a platform made of sticks or bark. Try to shield your fire space with a tarp or find a natural shelter like a rock overhang. Hustle to gather wood because it’s gonna get dark and even more wet soon.
In Windy Conditions
Strong winds can be a pain, but positioning is key. Find a natural barrier—like a rock wall or a fallen tree—to act as a windbreak, or dig a trench to protect your flames. Aim to light your fire in the direction that the wind is coming from, and have your kindling and wood ready to go ahead of time. This means you aren’t scrambling to find fuel while your sparks are getting snuffed out. Keep it small and manageable; a wind-ravaged bonfire is a recipe for trouble.
In Snow or Cold Environments
In cold settings, heat is a lifeline, and you need a fire more than ever. Start by finding a spot that’s protected from the wind and free from hanging snow-laden branches. Clear an area down to the ground if possible and create a platform of green logs to insulate your fire from the icy ground. Compact snow around your fire site can reflect heat back to you, making it extra cozy. As always, dry wood is a must, and if it’s scarce, you’ll need to split logs to get to the dry inner sections. Sappy wood like pine can be easier to ignite because the resin burns well, even if it’s a bit wet.
Advanced Fire-Making Techniques
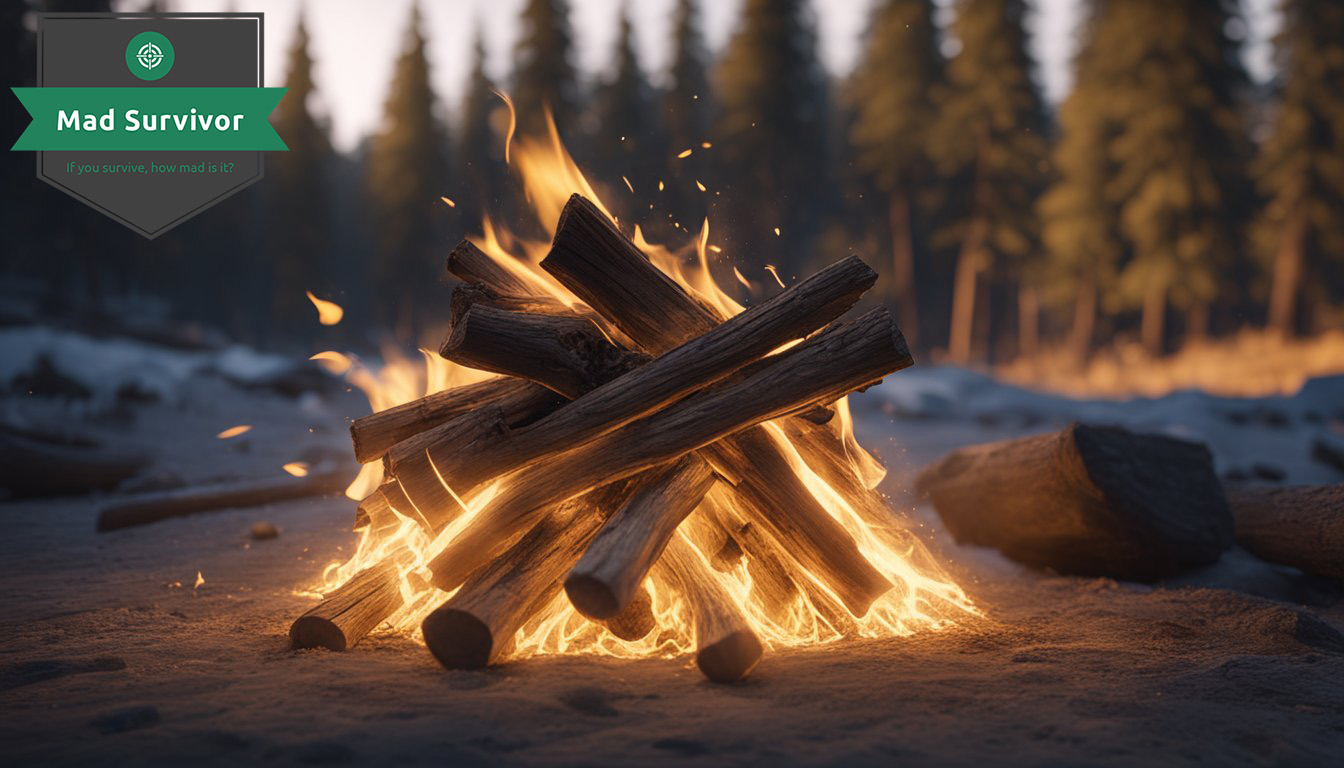
When you’re in the wild, mastering advanced fire-making techniques can be the difference between a warm night and a cold one. Here, you’ll learn about three sophisticated methods to start a fire without the convenience of modern tools.
Creating a Fire Plow
First off, let’s talk about the fire plow. This technique relies on friction between a hardwood plow and a softer wood base. You need to:
- Cut a groove in the baseboard.
- Rub the plow back and forth vigorously in the groove.
- Gather the hot embers that form and use them to ignite your tinder.
Tip: The faster and more consistently you plow, the more heat you’ll generate.
Using a Bow Drill
Next up is the bow drill method. For this, you’ll need a bow, a drill (or spindle), a fireboard, and a bearing block. Here’s a quick rundown:
- Secure a loop of cord around the drill and attach it to the bow.
- Place the drill into a depression on the fireboard.
- Hold the fireboard steady with your foot.
- Saw back and forth with the bow, spinning the drill to create friction and heat.
Remember: Patience and stamina are key, as this can take some time.
Constructing a Fire Saw
Lastly, there’s the fire saw. This is less common but effective if done right. You will:
- Find a flexible, yet sturdy, branch.
- Saw it vigorously across a groove in your fireboard.
- Collect the friction-generated dust.
- Ignite the dust after it smolders into embers.
Using this technique requires a lot of energy but can be a great workout and a lifesaver in a pinch.

Leave a Reply